Making a DIY sex machine might sound ambitious, but if you’re into DIY projects, it’s actually easier than you’d think—and a lot of fun. In this guide, we’ll show you how to go from simple DIY hacks to building a fully functional customized sex-machine.
Whether you want to upgrade your existing toys with motorized setups or go all in and build a thrusting machine from scratch, we’ve got you covered. Expect easy-to-follow instructions, creative ideas, and everything you need to bring your own homemade sex machine to life.
What's In This Article?
Easy Ways to Create a Homemade DIY Sex Machine
Not everyone is ready to grab a saw and start building a motorized sex toy from scratch. Maybe you’re just starting out with DIY projects, or maybe you want something simpler before committing to a full build. That’s completely okay! There are plenty of creative and effective ways to make a sex machine without needing to cut wood or wire up a motor.
With a bit of clever thinking and some common household tools, you can hack together a sex machine that offers hands-free fun without the hassle of a full-on construction project.
1. Sawzall Attachment
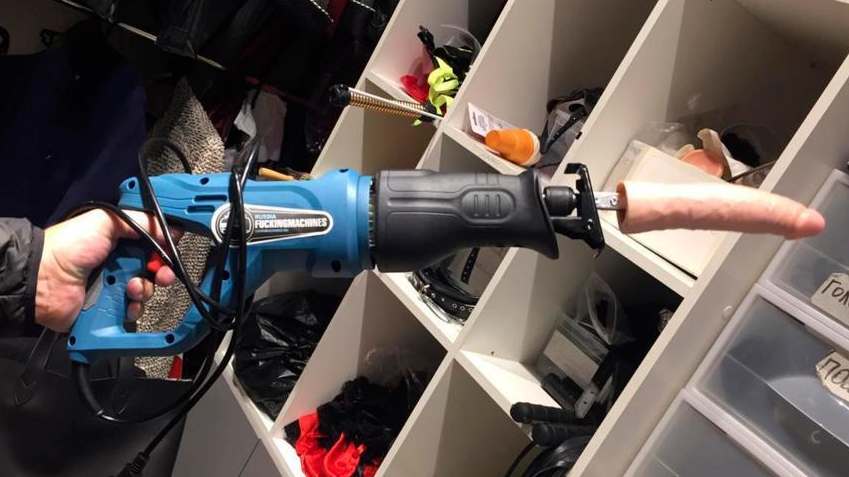
- A classic DIY hack. You can turn a reciprocating saw (like a Sawzall) into a basic sex machine by attaching a Vac-U-Lock or suction-cup toy to the blade holder. The back-and-forth motion mimics thrusting, and you can control the speed with the saw’s settings.
- Pro Tip: Start on a low speed to get used to the motion. Make sure everything is secure to prevent any unwanted slipping.
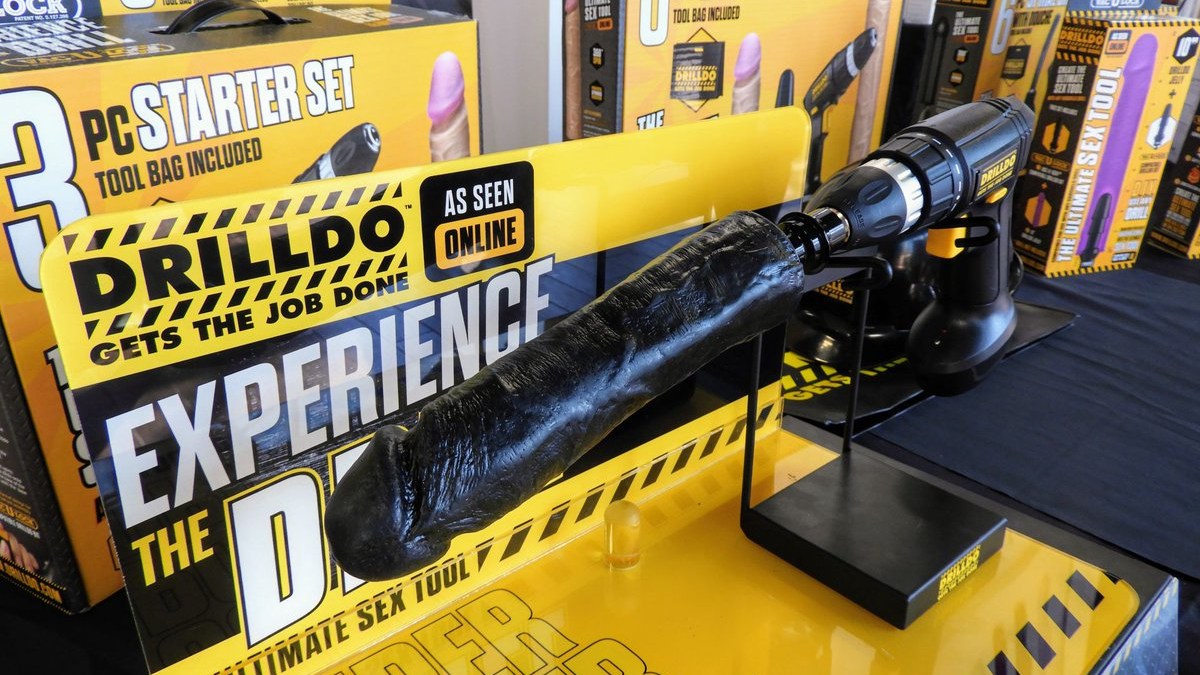
2. Drilldo
- This involves attaching a dildo to a power drill, which gives you a motorized, adjustable speed toy. You can find attachments made specifically for this, or you can get creative and DIY your own. The drill’s trigger allows you to control the speed easily, making it versatile.
- Safety First: Keep the drill on a low setting to start, and make sure you’ve securely attached the toy. A clamp or stand can be used for hands-free fun.
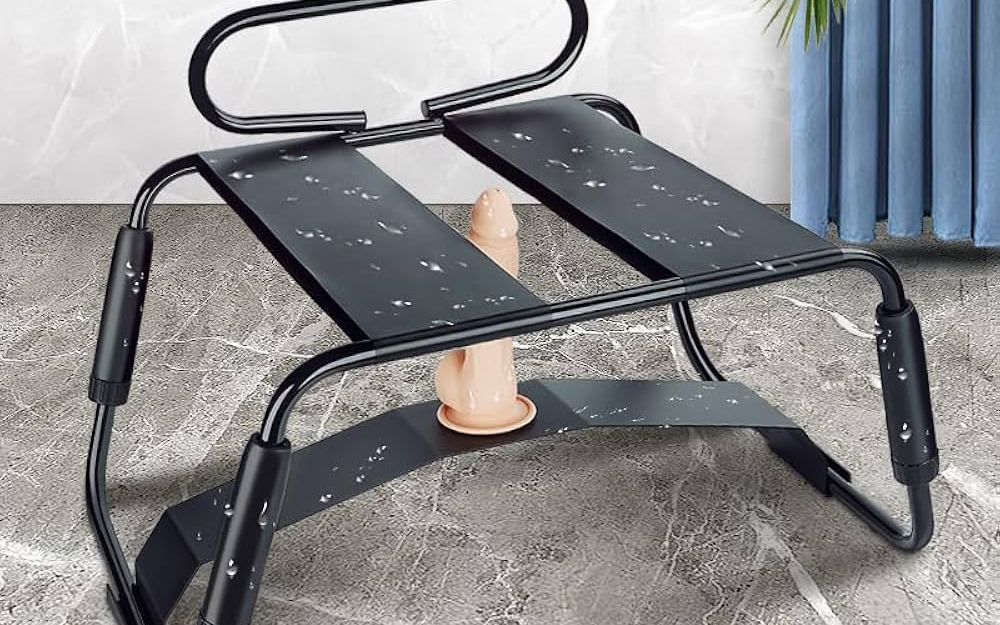
3. Chair-Based Hack
- Super simple—take a thrusting toy or vibrator and attach it to a sturdy chair using clamps or straps. Now you’ve got yourself a makeshift sex machine! Adjust the position to suit your needs, and you’re good to go.
- Pro Tip: A chair with a backrest can give you more support if needed, and using heavy-duty straps will help keep everything in place.
- Attach a thrusting or vibrating toy to a piece of furniture (like a bed frame or desk) using clamps or brackets. This turns your furniture into a hands-free machine, with the toy positioned for use.
4. Adjustable Suction Cup Dildo on a Surface
- Stick a suction-cup dildo to a hard surface like a table, floor, or wall, and adjust the height and position to make it hands-free. You can also pair it with a wand or other accessories for more stimulation.
- Pro Tip: Make sure the surface is smooth and clean for the best suction. If you need more flexibility, you can find adjustable mounts that let you change the angle.
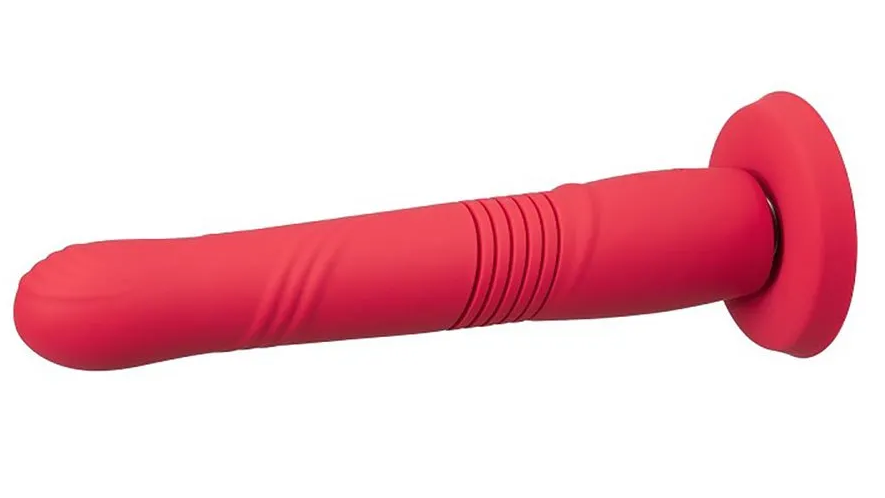
5. Wand Vibrator with Arm Mount
- If you have a powerful wand vibrator, you can make it hands-free by attaching it to a flexible gooseneck mount or adjustable arm mount. Clamp it to a piece of furniture and adjust the position to your liking. This way, you can enjoy continuous stimulation without holding the toy.
- Pro Tip: Make sure the mount can hold the weight of the wand and won’t slip. Check that everything is secure before using.
6. Massage Gun Hack
- Massage guns deliver quick, powerful pulses. You can attach a toy to the end of the gun to create a simple sex machine that provides rapid vibrations or thrusts. Most massage guns have multiple settings for speed and intensity.
- Pro Tip: Start on a low setting to test the strength, as massage guns can be very powerful. Make sure the attachment is secure.

Want More DIY Sex Toy Ideas?
- How to Make a Sex Toy With a Towel – Cost-Efficient Orgasms
- DIY BDSM Straitjacket – Learn How to Make Your Own
- DIY Latex Vacuum Bed – Detailed Guide on Making Your Own
- Cheap BDSM Equipment – Using Hardware, Dollar, and Thrift Stores
- Homemade Sex Toys – Easy DIY Kink Found Around The House
If you’re not confident in your DIY skills, it’s better to save up for a basic sex machine or wait for holiday sales and discounts—after all, your nether regions are worth more than cutting corners to save a few bucks.
How to Build a Flywheel DIY Sex Machine
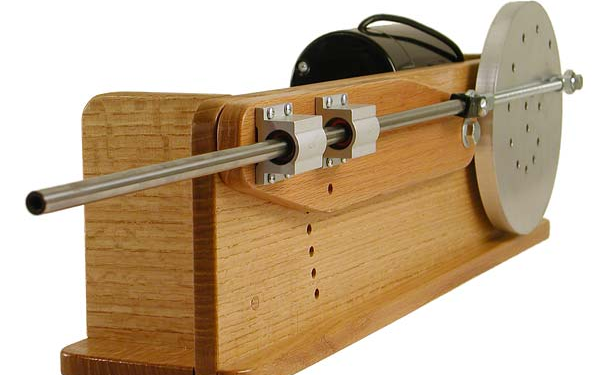
Building your own DIY sex machine is a hands-on project that lets you customize everything from speed to thrust, giving you the chance to create something uniquely tailored to your preferences. While it may sound complex, with the right materials and step-by-step instructions, it’s a manageable and rewarding build. Here’s how to get started.
Materials You’ll Need for your DIY Sex Machine:
Here’s a list of the basic materials you’ll need to build your flywheel sex-machine. You can modify some parts depending on what you have available or how powerful you want the machine to be.
- Wiper Motor (12V DC) or a similar motor with medium torque.
- Flywheel: Can be homemade or bought, 8-9 inches diameter is recommended.
- Base: Wooden or metal base (common size: 24” x 9.5”, but adjustable based on your available space and setup preferences).
- Metal Rod: With a Vac-U-Lock attachment or other toy attachments depending on your needs.
- Speed Controller: For adjusting the motor speed (ensure it matches the motor voltage and amperage).
- Power Supply: 12V, 5-6A, appropriate for the motor you’re using.
- Bolts, Screws, and Miscellaneous Hardware: Ensure you have the correct sizes to secure all components tightly (you may need to adjust based on your materials).
- Tools:
- Drill (preferably a drill press for precise holes)
- Saw (for cutting wood or metal frame)
- Basic hand tools (screwdrivers, wrenches, pliers, etc.)

Don’t forget to sketch out your ideas first!
Step 1: Build the Base
The base is the foundation of your machine, so it needs to be sturdy. You can make the size flexible depending on how much space you have or how portable you want the machine to be.
- Cut the Wood (or Metal): If you’re using wood, cut your base to around 24” x 9.5”. This is a good starting point, but if you need more stability or have more space, feel free to make the base bigger.
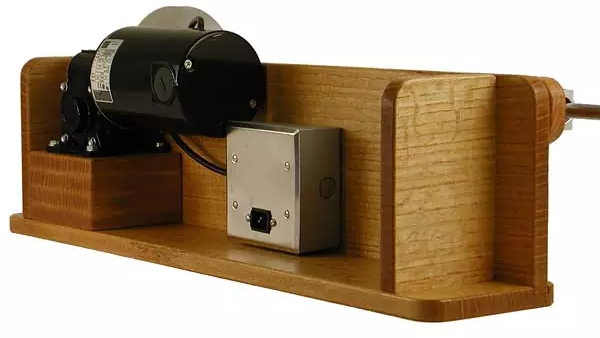
- Mount the Vertical Supports: Cut two vertical pieces of wood (or metal) to hold the motor and the thrusting rod. One piece should be slightly taller to support the motor, while the other holds the thrusting rod in place. Screw or bolt these pieces into the base securely.
- Customizable Tip: If you’re unsure about the size, leave room for adjustments later. You can always add extensions or adjust the height based on your comfort.
Step 2: Mount the Motor
The motor is the driving force behind the machine. A 12V wiper motor is a great option because it provides the right balance of power and reliability.
- Position the Motor: Attach the motor to the taller vertical support using bolts. Make sure it’s securely mounted so it doesn’t wobble or shift during use.
- Align the Motor: Ensure the motor shaft is perfectly aligned with where the flywheel will be attached. This will prevent the machine from vibrating or wearing down unevenly over time.

Step 3: Attach the Flywheel
The flywheel is the key component that converts the motor’s spinning into thrusting motion. You can either buy a flywheel or make one yourself out of wood or metal.
- Bolt the Flywheel to the Motor Shaft: Using bolts, attach the flywheel to the motor shaft. The flywheel should spin freely without touching the base or vertical supports.
- Test the Spin: Spin the flywheel by hand to make sure it’s balanced and doesn’t wobble. An unbalanced flywheel can cause unnecessary vibration, which could affect the machine’s stability.
Step 4: Connect the Thrusting Rod
Now it’s time to attach the rod that moves back and forth. The rod will connect to the flywheel and drive the motion.
- Attach the Metal Rod to the Flywheel: One end of the metal rod should be attached to the outer edge of the flywheel. As the flywheel spins, this connection point will move the rod back and forth.
- Add a Vac-U-Lock Attachment: On the other end of the rod, attach a Vac-U-Lock or other suitable attachment for toys. Make sure the connection is secure, so nothing slips during use.
- Install Linear Bearings (Optional): To make sure the rod moves smoothly, you can add linear bearings to guide the rod. This step is optional but recommended for better motion control.

Step 5: Install the Speed Controller and Power Supply
The speed controller allows you to adjust how fast or slow the machine moves, giving you control over the thrusting speed.
- Wire the Speed Controller: Connect the speed controller to the motor and power supply. Make sure the wiring is correct and securely connected.
- Test the Setup: Turn on the power supply and use the speed controller to test the machine at different speeds. Start slow to make sure everything is working correctly and the movement is smooth.
Step 6: Final Adjustments
Once the machine is built, you’ll want to make a few final checks and adjustments before full use.
- Stability Check: Test the base for stability. If it wobbles, consider adding rubber feet or extending the base to make it sturdier.
- Adjust the Thrust Length: You can control the thrust length by adjusting where the rod attaches to the flywheel. Moving the rod closer to the center of the flywheel will shorten the thrust, while moving it further out will increase the length.
- Lubrication: Apply silicone lubricant to the moving parts (like the rod and bearings) to keep the motion smooth and reduce wear.
Further Upgrades & Tips
- Upgrade to Higher Torque Motors: Go for 12-24v DC motors with 200-500rpm to give your machine more power and smoother movement.
- Use Lighter Flywheels: Try a 7″ x 1/4″ or 3/8″ lightweight aluminum flywheel to reduce strain on the motor and improve performance.
- Optimize Thrust Rod Length: A 600-700mm thrust rod works better for smoother action and prevents mechanical issues.
- Secure Hub and Flange Setup: Make sure your flywheel is tightly attached to the motor with an 8mm hub flange and set screws to keep everything aligned.
- Dual Linear Rod Setup: Using two parallel rods with bearings gives the machine more stability, especially at higher speeds.
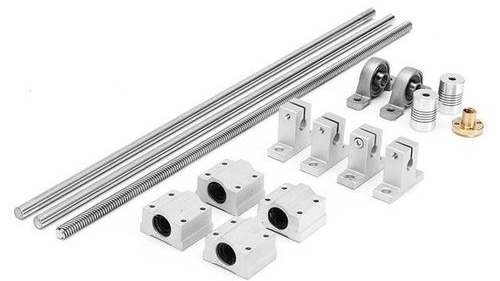
- Stick with Compatible Parts: Use common thread sizes (like 1/4″ or 3/8″) for rods and bearings to avoid headaches when finding parts.
- Add Adjustable Stand: An adjustable height or angle stand makes the machine more comfortable and versatile to use.
- Wiring and Safety: Use 16-gauge wire to connect the motor and speed controller, and double-check all connections for safety.
- Customize Thrust Length: Drill a few extra holes in the flywheel so you can adjust the thrust length between 2″ and 5 1/2″ to suit your preference.
- Consider Aluminum or Steel Frames: If you’re looking for durability and a lighter build, switch from wood to aluminum or steel in your next version.
- Plan for Interchangeable Attachments: Set up quick-connect fittings so you can easily swap out different toys or attachments without extra hassle.
DIY Sex Machine Motor Options & Comparison
- Wiper Motor (12V DC) – medium power level and is ideal for sex machines that need reliable thrusting at slow to medium speeds. It’s widely available and relatively affordable, and provides solid torque, making it a great choice for DIY projects that don’t require extremely high power.
- Low-RPM Drill Motor – provides high power and adjustable speed, allowing the machine to run at slow to fast speeds. This makes it perfect for users who want flexibility in terms of speed and thrust intensity.
- DC Gear Motor – delivers medium to high power and operates at a slow to fast speed range. They are known for being quieter than other motors, making them an excellent choice if you need a machine with less noise but good thrusting capability. Best used in machines where you want both control and power.

- Brushless DC Motor – offers medium to high power and runs at a slow to fast speed range. They are quieter, higher efficiency, and have longer durability than brushed motors, which makes them ideal for machines that require precise control.
- Treadmill Motor – known for their very high power, treadmill motors can handle slow to very fast speeds and are great for heavy-duty machines. They provide strong, continuous thrusting motion without overheating. These motors are larger and noisier, so they are better suited for larger designs.
- Power Window Motor – medium power and are typically best for machines that run at slow to medium speeds. They are compact, making them ideal for smaller setups. These motors are generally less powerful than wiper motors but still provide enough force for moderate use.
A Note on Cost…
Building a DIY flywheel sex machine may seem cheaper at $105 to $360 compared to $300 to $500 for commercial machines. However, when you factor in time, potential mistakes, and extra materials, the cost gap narrows. If you’re experienced with DIY, it can be rewarding, but for others, buying one may end up being just as affordable and far less hassle.
Important Warning for DIY Sex Machines
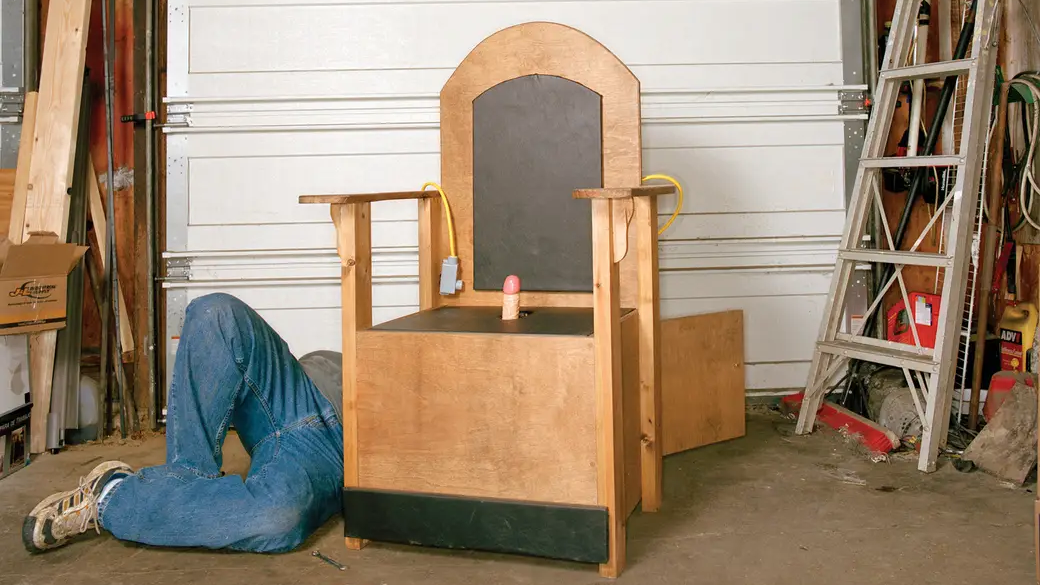
Building your own sex machine can be a fun project, but safety should always come first. Since you’re dealing with motors, moving parts, and electrical wiring, there are some risks involved. Here are a few things to keep in mind:
- Stability Is Key: Make sure your machine is solid and steady. If it’s wobbly or unstable, things can go wrong fast.
- Watch for Overheating: Motors can get hot after running for a while. Test it at lower speeds first, and if it starts making weird noises, smells funny, or gets too hot, turn it off right away.
- Use Strong Materials: Avoid cheap or flimsy materials. Stick with sturdy options like aluminum, steel, or strong wood to make sure everything holds up under pressure.
- Be Careful with Wiring: If you’re not confident with electrical work, follow instructions closely or get help. Bad wiring can lead to shocks, shorts, or even fires.
- Test Before Use: Always run a few test rounds at the lowest speed before using it for real. Make sure everything moves smoothly and nothing feels loose.
- Know Your Limits: If something feels over your head, don’t push it. It’s better to ask for help or pause the project than to risk injury or damage.
- Personal Safety: Make sure you’re using the machine in a safe environment. Never leave it running unattended, and always be aware of your surroundings.
DIY sex machines can be a great way to save money and customize to your liking, but don’t cut corners on safety. If you’re unsure about anything, it’s totally okay to consider buying a pre-made machine that meets safety standards.
A Final Note on DIY Sex Machines
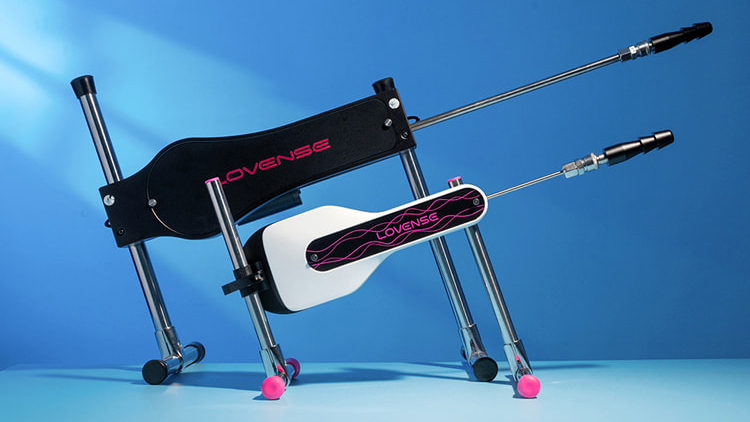
If DIY projects aren’t your thing or you’d rather skip the building process altogether, you can always find plenty of affordable sex machines ready to go. These machines are designed for ease of use and often come with a range of adjustable speeds and settings.
While making your own can be fun and rewarding, buying a pre-made option is a quick and reliable way to get the experience you’re looking for without the effort of construction. If you’re interested in exploring affordable sex machines, you can check out the Lovense Mini Sex Machine.

